
Engine oil is the lifeblood of every vehicle, providing crucial lubrication, reducing friction, and helping dissipate heat. Routine oil checks are a simple yet essential maintenance step for car owners at any experience level. Neglecting to monitor engine oil can lead to poor performance, costly repairs, or even engine failure. According to surveys conducted by automotive service associations, a significant share of engine damage cases can ultimately be traced to low or degraded oil.
The good news: learning how to check engine oil is straightforward and requires only a few minutes, no specialized tools, and basic attention to detail. By mastering this habit, drivers extend the lifespan of their engines, protect resale value, and ensure safer, smoother journeys.
Preparation: What to Do Before Checking Your Oil
Before diving into the steps, a few preliminary actions ensure an accurate reading and protect both vehicle and user.
Park Safely and Cool the Engine
Always park on level ground. An inclined surface can skew oil levels on the dipstick, leading to misleading results. Ideally, wait at least 5 to 10 minutes after turning off the engine; this allows the oil to settle back into the pan for an even measurement. Checking oil right after a long drive—or when the engine is still hot—can result in overestimating oil volume.
“Allowing the engine to cool, even briefly, gives the most accurate oil level reading and protects you from possible burns,” says Carlos Ramirez, a master technician with two decades of experience.
Gather the Essentials
Checking engine oil doesn’t require a special toolkit, but having a few items nearby streamlines the process:
– A clean rag or paper towel to wipe the dipstick
– Disposable gloves (optional, for tidy hands)
– The vehicle’s owner’s manual for reference
Knowing the location of the oil dipstick, typically highlighted with a yellow or brightly colored ring, is also helpful. Most automakers keep it accessible near the front of the engine compartment.
Step-by-Step Guide: How to Check Engine Oil Accurately
Every modern vehicle comes equipped with a dipstick to manually measure oil levels. While some new models employ digital sensors, the dipstick remains the gold standard for hands-on checks.
1. Locate and Remove the Dipstick
Pop the vehicle’s hood and secure it. Find the oil dipstick—usually labeled and easy to grip. Pull it out slowly.
2. Wipe the Dipstick Clean
Using your cloth or paper towel, wipe away all oil from the dipstick’s end. This ensures you’re measuring fresh oil rather than residue left behind from engine movement.
3. Reinsert and Remove the Dipstick
Place the clean dipstick fully back into its tube and then withdraw it once more. This step allows the oil to adhere naturally to the marked indicators.
4. Read the Oil Level and Condition
Examine both sides of the dipstick. Two marks (often dots, lines, or the words “MIN” and “MAX”) indicate proper levels. The oil film should sit between these marks—closer to “MAX” is ideal, but never above it. If below the “MIN” mark, immediate top-up is indicated.
While checking the amount, also note the oil’s color and texture. Clean oil is amber and somewhat translucent; dark, gritty, or foul-smelling oil could signal it is overdue for replacement.
5. Replace the Dipstick
Once done, reinsert the dipstick securely, ensuring no contaminants enter the engine. Close the hood and dispose or launder any oily rags.
Interpreting Oil Appearance and What It Means
Beyond volume, oil appearance gives valuable insight into engine health.
- Amber and clear: Normal, healthy oil.
- Dark brown or black: Likely needs to be changed. Oil naturally darkens with use, but very dark or sludgy oil suggests poor filtration or overly extended intervals between changes.
- Milky or frothy: May indicate coolant mixing with oil—a serious issue requiring professional diagnosis.
- Gritty or debris-filled: Shows excessive wear or contamination, also calling for inspection.
Car makers recommend oil change intervals ranging from every 3,000 to 10,000 miles, depending greatly on the type of oil, driving habits, and engine design. Always defer to your specific owner’s manual.
What To Do If Oil Level Is Low
Finding your oil level at or below the “MIN” indicator isn’t necessarily a cause for alarm—but it does demand swift attention. Running an engine with insufficient oil can accelerate wear, reduce efficiency, and even cause catastrophic damage.
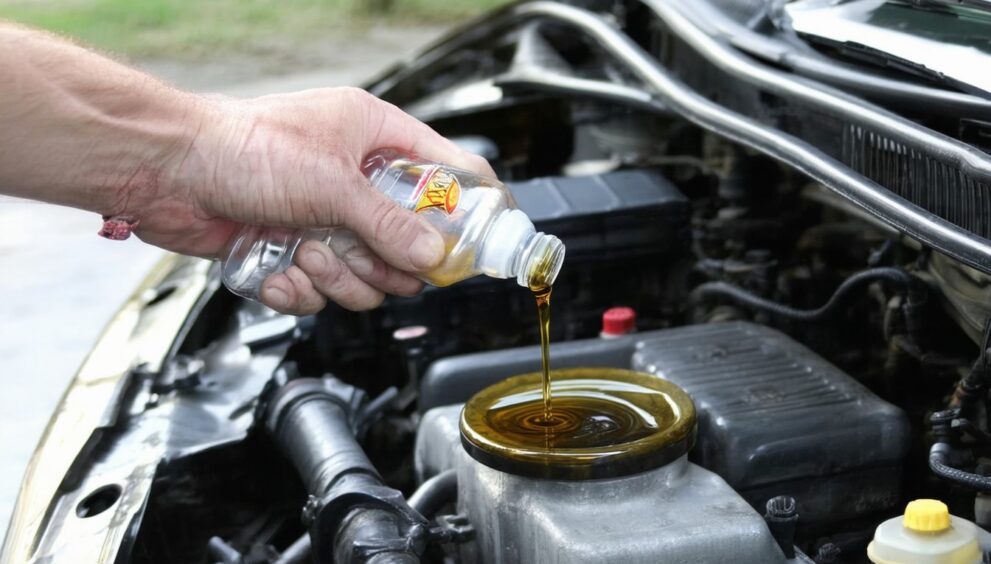
Adding Oil
- Identify the correct oil grade and specification as listed in your manual.
- Unscrew the oil filler cap (distinct from the dipstick) and add oil slowly, checking the level after small increments.
- Use a funnel to avoid spills.
- After topping up, wait a minute before rechecking to allow oil to settle.
Most importantly, don’t overfill. Too much oil can cause increased pressure and potential leaks or foaming.
Investigating Recurring Low Levels
If low oil occurs frequently between scheduled changes, it may indicate a leak or an engine consuming oil. Common causes include worn gaskets, piston rings, or external leaks. Prompt diagnosis prevents more extensive—and expensive—repairs.
Real-World Example: Preventing Costly Repairs
A 2022 case study from a leading auto club revealed that a substantial portion of engine failures they responded to were tied to neglected oil checks, particularly among infrequent drivers or those with older vehicles. Major brands such as Toyota and Ford have reinforced messaging in their owner guides, recommending monthly checks regardless of mileage.
Such real-world reminders underscore the minimal effort required for routine checks compared to the potential for high-dollar repairs.
Conclusion
Regularly checking engine oil is one of the most straightforward and impactful habits any driver can develop. Taking just a few minutes every month can save thousands in avoidable repairs, prevent sudden breakdowns, and keep the vehicle running efficiently. With manufacturer guidelines evolving and engines becoming more sophisticated, this simple practice remains as relevant as ever. Prioritizing oil checks and understanding signs of trouble empowers every car owner to enjoy a smoother, safer driving experience.
FAQs
How often should engine oil be checked?
Ideally, engine oil should be checked once a month or before any long trip. Vehicles with older engines or high mileage may benefit from even more frequent checks.
Can I drive if my oil level is low?
It’s not recommended. Driving with low oil can cause engine damage within a short period. Always top up to the recommended level before operation.
What type of oil should I use when topping up?
Consult your vehicle’s owner’s manual for the exact oil grade and viscosity recommended by the manufacturer. Using the wrong type can affect performance and warranty.
What does it mean if the oil looks milky or foamy?
This could indicate a coolant leak into the oil system, which is serious and requires immediate attention from a mechanic to avoid engine damage.
Is it possible to overfill the engine with oil?
Yes, overfilling can create excess pressure, leading to leaks or contamination of other engine components. Always add oil gradually and recheck the level.
Are digital oil sensors as reliable as dipsticks?
Many modern vehicles feature electronic oil monitors, but occasional manual dipstick checks provide an extra layer of assurance—especially before long trips or after recent service.